Create a User Story
StoriesOverview
A user story captures a unit of work from the user's perspective. Stories are the primary way your team tracks features, tasks, and changes in Silverile. You can create a story from several places in the app — they all open the same three-step creation wizard.
Who can create stories
Any project member with contributor access or above can create stories. Read-only members cannot. If the create button is missing in all locations, ask your project manager to update your access level.
Step 1 — Open the create story form
There are three main ways to open the form. All three open the same wizard.
From the header (anywhere in the app)
From the Story List page
From the Sprint Kanban board
Step 2 — Basic info
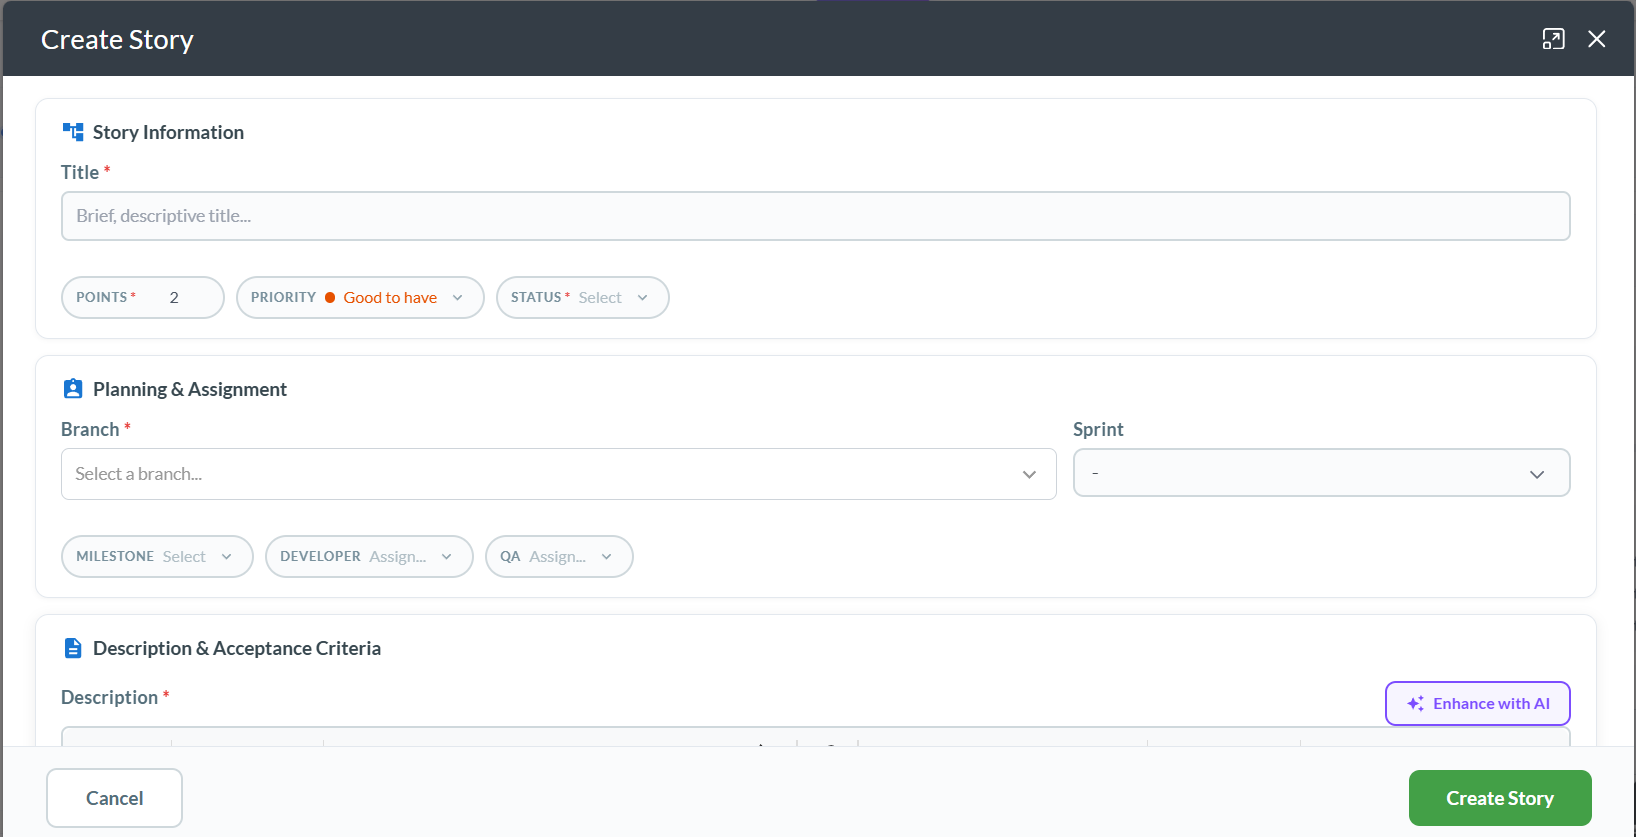
The first step of the wizard collects the story's core identity fields. Select a Story Type at the top of the form first — this determines the available statuses and the terminology used in the wizard.
| Field | Required | Notes |
|---|---|---|
| Story Type | Yes | Category of work for this story. Determines available statuses and vocabulary. Selected at the top of the form before filling in details. |
| Title | Yes | Short summary of the story. 3–150 characters. |
| Branch | Yes | The parent branch this story belongs to. Select from the branch tree. A story must always be linked to a branch. |
| Points | Yes | Effort estimate. Accepts a number from 0 to 99, or T-shirt sizes (XS / S / M / L / XL) depending on project configuration. Defaults to 2. |
| Priority | No | Urgency: Critical, High, Medium, or Low. Defaults to High. |
Step 3 — Description & acceptance criteria
| Field | Required | Notes |
|---|---|---|
| Description | Yes | Full context and background. Rich text editor — supports headings, lists, code blocks, and links. Must contain actual text content. |
| Acceptance Criteria | No | Conditions that must be met for the story to be accepted. Rich text. Strongly recommended — used by AI tools to generate implementation prompts. |
Both fields use the rich text editor. Use the Enhance buttons (AI) next to each field to generate or improve content — Description needs at least 20 characters and 5 words before AI enhancement is available.
Step 4 — Assignment & planning
The final step handles workflow placement and team assignment. Some fields become required depending on the status you choose.
| Field | Required | Notes |
|---|---|---|
| Status | Yes | Initial workflow stage for the story. Required for all stories. |
| Sprint | No | Required when status is In Development or beyond. Leave blank to place the story in the backlog. |
| Developer | No | Required when status is In Development or beyond. The team member implementing the story. |
| QA | No | Required when status is In Testing or beyond. The team member responsible for verification. |
| Milestone | No | The MVP or milestone this story contributes to. Optional. |
| Remarks | No | General notes or context. Visible on the story detail page. |
Attachments
You can attach files to the story before saving it. The attachment uploader is available in the wizard — drag files onto it or click to browse. Attachments are saved together with the story when you click Create Story.
After creation
The story is saved immediately and appears in the Story List and, if a sprint was assigned, on the Kanban board. From here you can:
- Open the story — click its ID or title to open the full detail view and add more information
- Assign it to a sprint — if you left sprint blank, drag it from the backlog into a sprint
- Refine acceptance criteria — add more detail as grooming happens
- Develop it from your IDE — use the VS Code or IntelliJ extension to generate an implementation prompt from the acceptance criteria
Troubleshooting
I don't see a "Create Story" button anywhere
Creating stories requires contributor access or above. If the button is missing in all locations, ask your project manager to update your access level.
The Branch field is empty — no options to select
Branches must be created before stories can be added to them. Ask your project manager to create a branch first under the project hierarchy.
The Story Type picker is missing or empty
Story types are configured per project. If none appear, ask your project manager to set them up under Project Settings → Story Types.
The Sprint dropdown is empty or not showing
No sprints have been created yet for this project, or the project uses Kanban (no sprints). Create a sprint first, or leave sprint blank to add to the backlog.
Sprint / Developer / QA fields are showing as required but I didn't expect that
These fields become required depending on the status you select. If status is In Development or later, Sprint and Developer are required. If status is In Testing or later, QA is also required. Change the status back to Backlog or New to make them optional.
I can't find the story after creating it
Check the Story List — new stories without a sprint land in the backlog. If you assigned a sprint, open that sprint's Kanban board. Use filters to search by title or ID.
The Points field won't accept my value
Points must be a number between 0 and 99. Your project may be configured to use T-shirt sizes (XS/S/M/L/XL) instead of numbers — select from the dropdown in that case.